

Load images faster and smarter
In this part of our article series on performance, we discuss performance gains through smarter use of images. These gains can be significant. Images often take a long time to load due to their file size. And those sizes continue to grow as the resolution and dpi of screens also continue to increase. How do you improve performance by modifying the images on your website?
This can be done in four ways, which we will explain below:
1. Keeping dimensions as small as possible
With styling images can automatically be scaled back to the maximum width of the container. Usually the actual image size is not directly visible, so a web editor often uses a (much) larger image than necessary. And that results in longer loading times. For example, banners for mobile phones do not have to be wider than 400 pixels, while a desktop requires a width of at least 1200 pixels.
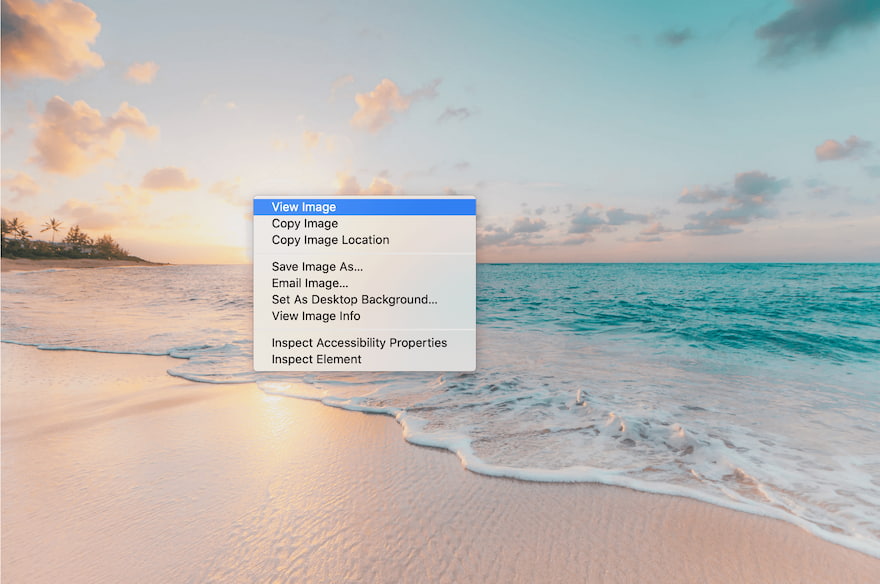
Tip: Open an image on the web in a new tab to quickly see the actual size.
Fortunately, modern browsers support responsive images. This technique allows the browser itself to choose the most suitable size. You first upload the different variants of the image and then specify the desired image dimensions per screen width.
It is even more convenient if the content manager only has to upload one version of the image for this. The CMS can then save that image in the background in the various predefined dimensions.
For one of our clients, this automatic 'resizing' was not an option because they wanted to display a different image per screen width. On mobile, for example, a square image with little information and for desktops a larger, rectangular banner. In such a case, it is necessary to upload a separate version of the same image for each screen width to the CMS.
Read more about responsive images
2. Image compression
In addition to the dimensions, image compression also affects the file size. And with that the loading speed. What is compression? Simply put: removing certain data from the image code so that the file size is reduced. The disadvantage is that the quality of the image deteriorates as a result. Fortunately you don’t really notice that when browsing. It is only during printing that the loss of quality is clearly visible. Most online images can be compressed to one-third or even one-fifth of their original size, without a visible red

Tip: use the web app Squoosh for image compression. Because you immediately see the result, you can experiment with up to how far you can compress without too much loss of quality. You can also immediately see the reduction in file size.
Automatic or manual?
Many CMSs can automatically compress images, with or without a plug-in. How much you can compress without visible loss of quality varies per image. This causes many web editors to be too cautious. For example, they compress each image down to 80%, while many images still look good when compressed to as little as 50% or 60%. The loading time could therefore have been a lot shorter. It is therefore wise to (also) compress manually. For example when exporting from Photoshop or using a web app like Squoosh (see above).
3. Lazy loading
With lazy loading you speed up the loading time by only loading the images that are currently in the frame. The other images only load when you scroll down. Especially on mobile phones, this technique provides a lot of performance gains. After all, a smartphone screen displays much less content simultaneously than a desktop screen.
Unfortunately there is no good browser functionality yet for lazy loading, but there are several small JavaScript libraries that work well. These allow you to set how ‘lazily’ the images load: only when they are almost in the frame, or all at once after the other files are loaded. The advantage of the first option is that you never load more than necessary and the advantage of the second option is that the user does not notice the loading even when scrolling fast.
Our experience with lazy loading
In implementing this improvement, we discovered that other page content jumps around as soon as an image is loaded later. This of course doesn’t help a user trying to read or view a page. Our solution: in the styling we reserve the exact space for the image. When reserving this, however, it is necessary to know the image ratios.

Above, an example of a website that uses grey fields to reserve space until the image is loaded. Also take a look at the animated image which further explains lazy loading.
We agreed with some clients that the web editor always maintains a pre-defined image ratio per component. For example 3:2. If an image does not fit into this, part of the image will be hidden automatically.
Other clients invested in a more flexible solution: the exact image ratio is retrieved from the server to reserve exactly the right space per image.
4. Perceived performance
Above you read about how we use styling to reserve the exact image space to prevent the content from jumping around when loading. But what do you display in that reserved space during loading?
Just by giving the field a different color, you let your visitors know that something will be loaded here later. That’s good for the perceived performance which we wrote about in part 1 of this article series. We often choose a subtle light grey background color as a temporary placeholder. But there are also more creative solutions, such as displaying an animation during loading. For example, let an image appear gradually, from transparent to fully visible.
Blurred images
An alternative is a blurred version of the image. These load quickly and are only 1 to 2 kilobytes (KB) in size.
.jpg "Source: https://cdn-media-1.freecodecamp.org/images/01dWYR9uwENmj6xQcoA-5uhSqdXywSDUMCyH")
The image colors of course look better than a grey field. A small disadvantage is that you have to download extra images or place them as code in the HTML, and that will cost you some extra kBs. In addition, it takes time to make this work properly in the CMS: a reduced version must be created automatically in the background for each image.
Dominant color and SVG
Another alternative: set the dominant image color as the background. This gives a subtle impression of the image and prevents an extra download.
A final option is traced SVG. This technique creates an SVG for each image, which stands for Scalable Vector Graphics, a file format for images with simple graphic symbols. In this way you only display the contours of the image during loading. An advantage is that the SVG is in the HTML. This prevents an extra request to the server, which makes the page load more quickly.
Both solutions are mainly interesting if you can easily integrate them with a plug-in. If you need to develop the functionality separately, then it is important to ask yourself whether that investment will pay off with improved performance.
This gives you a good idea of the ways to increase performance by adjusting images. In the next article in this series on performance, you will read about how to load less and smarter JavaScript. Do you have questions or would you like to know more about images and performance? Call or email us, we’ll be happy to think with you.
- performance
- images